#ResearchOps: Running Containerized OpenPose
Introduction
Running machine learning experiments involve a considerable overhead of setting up GPUs, getting environments to work as expected, poorly documented code, conflicting package versions, … and the list goes on. In an attempt to relieve the problem, I started containerizing most of my workflows. In this article, I describe how to run OpenPose pain-free on Docker.
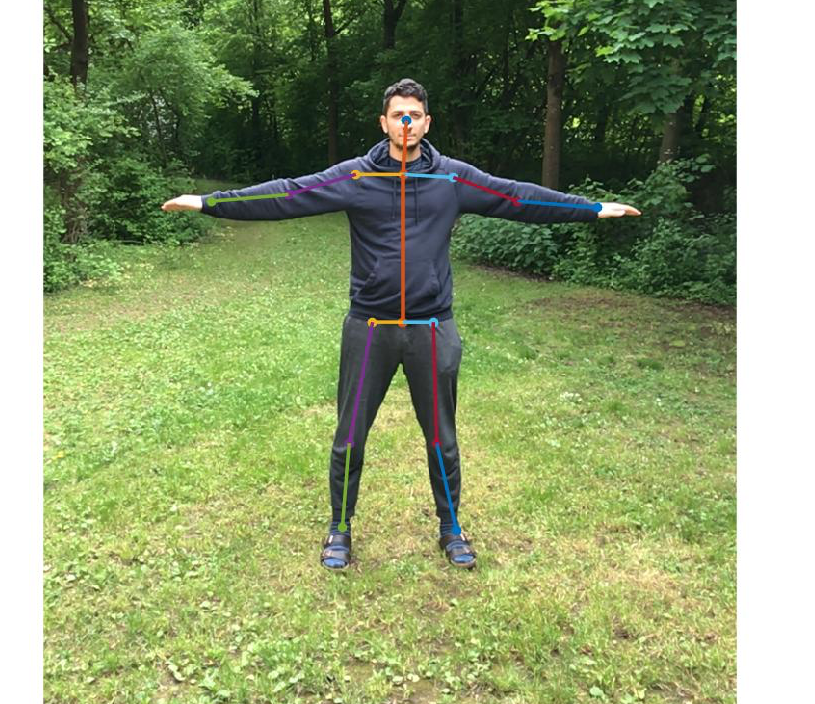
OpenPose is a real-time multi-person keypoint detection library for body, face, hands, and foot estimation.
In this article, I assume you are also familiar with Nvidia Docker.
Building Docker Image
If you are not interested in the building details, you could skip directly to use the already-packaged image from Docker Hub: devyhia/openpose. You could skip to the next section.
After multiple attempts to get OpenPose to run, I found the following set of components to work well together:
- Nvidia GPU Image
nvidia/cuda:10.0-cudnn7-devel-ubuntu16.04: CUDA 10, CuDNN 8, Ubuntu 16.04 - Required Dependencies:
- C++ Requirements: Google Protobuf, Boost, HD5, and Glog
- OpenCV
- Caffee
- OpenPose Library
The following Dockerfile illustrated the order in which you need to install the dependencies. To build the image on your own:
- Pull the repository
git clone https://github.com/devyhia/docker-openpose - Build the docker image.
docker build -t openpose .
Running OpenPose Docker Image
At the time of this writing, the published docker image (devyhia/openpose) is using the CMU OpenPose (Master Branch, April 14th, 2019) and the CMU Caffe Fork (Master Branch, April 14th, 2019)
- Bash into the docker image:
docker run -v /path/to/images:/images --runtime=nvidia --rm -it devyhia/openpose:2019-april bash - Run the following command:
/openpose/build/examples/openpose/openpose.bin \
 --image_dir /images \
 --display 0 \
 --render_pose 0 \
 --write_json /images
Now, the poses will be saved along with the images as json files.
P.S. If you are using a locally built docker image, you could use openpose as the container name (or, any name you used for your container, for that matter). If you want to point to the remote container, you need to use the following container name: devyhia/openpose:2019-april.
Visualizing Body Keypoints
-
Convert the given JSON file to Matlab format (where I needed it for further research).
-
Create a Matlab function to give you the points of interest (i.e. the ones you want to draw).
-
Create a function that will produce a list of bones (connecting interesting the keypoints).
-
Create a Matlab function to plot the points and the connecting lines/bones.